Preserved Lemons: A Beginner's Guide to Salt-Curing and Using Them
October 30, 2026 - Lemon Recipes
The first time you taste limoncello made properly at home — poured ice-cold, pale gold, sharp with lemon oil but soft on the finish — most commercial bottles stop making sense. You need three ingredients, one clean jar, and a few weeks of waiting in a dark cupboard. The lemons do most of the work. The rest is knowing where people go wrong: zesting too deep, infusing too long, pouring the syrup in warm. Get those three things right and you will have something worth keeping in the freezer all year.
Limoncello is an infusion, not a juice drink. You steep lemon peel in strong alcohol until the oil comes out, then sweeten and dilute it with sugar syrup. The flavour lives entirely in the zest — the yellow outer layer that holds the aromatic oils. The juice and the white pith contribute nothing you want: one makes it sour and cloudy, the other makes it bitter.
That single fact explains nearly every failed batch. People treat limoncello like lemonade with a kick, add juice, grate the whole peel, and end up with something harsh. The traditional versions from the Amalfi Coast and Sorrento are made with nothing but peel, alcohol, water and sugar, served in small chilled glasses after a meal.
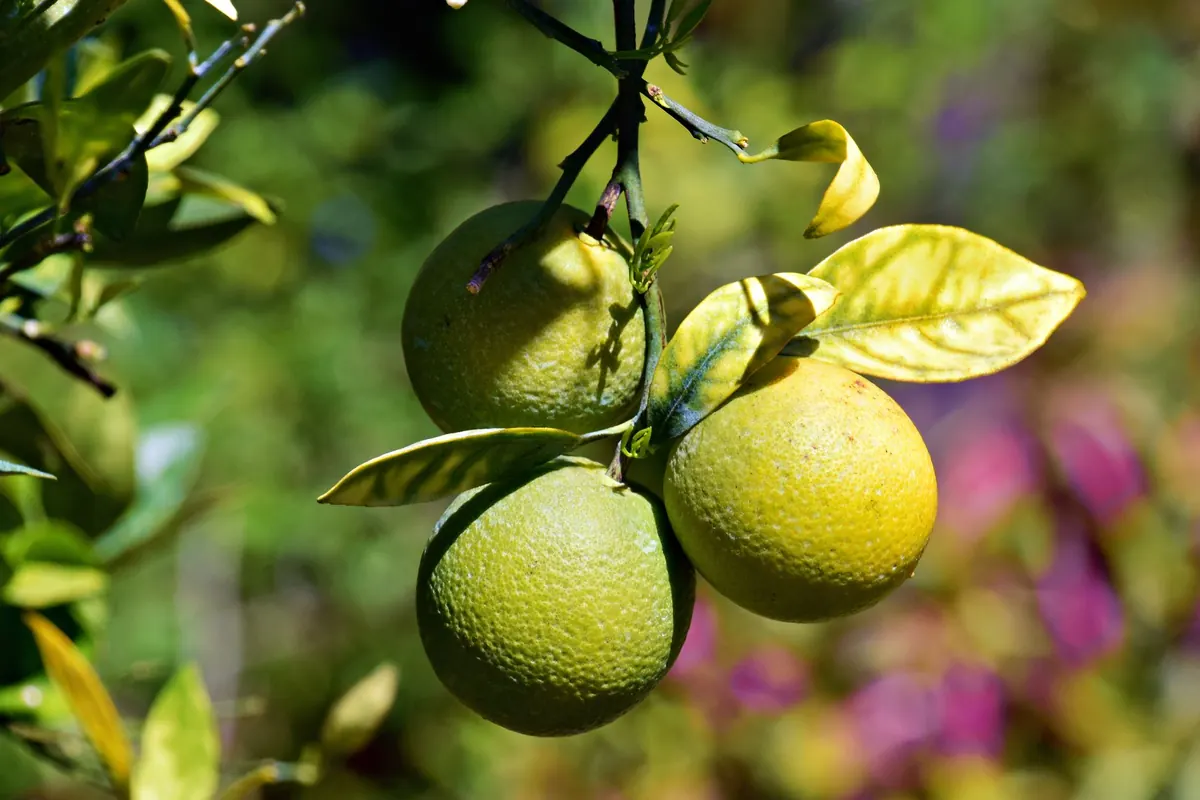
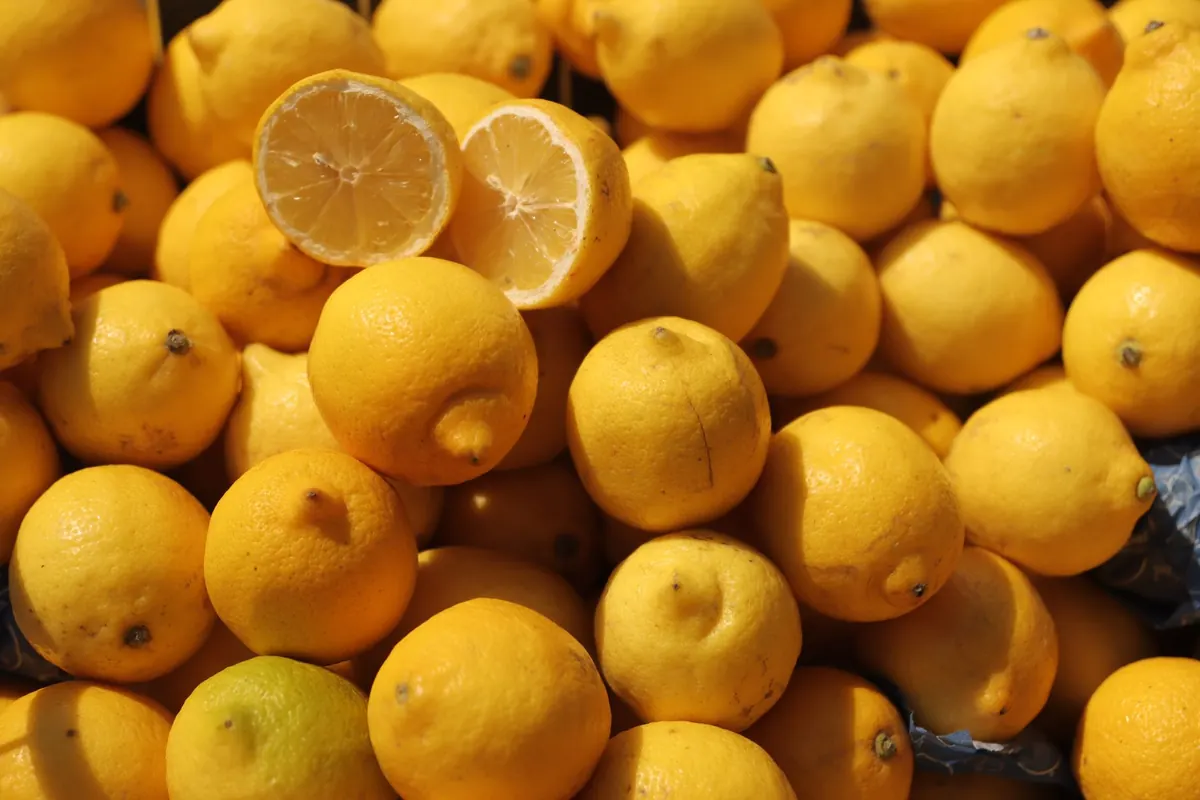
Look for thick-skinned, fragrant, unwaxed lemons. If you can find Sfusato Amalfitano lemons, use them; their peel is heavy with oil. Otherwise, organic lemons from a greengrocer will beat the shiny waxed ones in a supermarket bag. Wax is a real problem: it traps dirt and dulls the oil. Wash every lemon in warm water with a little bicarbonate of soda, scrub the skin, and dry it thoroughly before you begin.
Skip fruit that is soft, shrivelled, or heavily green-tinged. You want lemons that smell assertive the moment you scratch the skin.
A vegetable peeler is safer than a fine grater for beginners. Press it lightly and pull long strips, stopping the moment you see white. Lay each strip flat on a board and shave away any pith with a small paring knife. If you prefer a Microplane, hold it at a shallow angle and keep the lemon moving — the second you press hard, you are through into the bitter layer.
For one litre of alcohol, aim for the zest of about ten to twelve lemons, roughly 60 to 70 grams. Weigh it if you can; it removes the guesswork.
A workable, traditional-style batch uses:
If strong alcohol is hard to find, use a good vodka at 40–50% instead. The infusion will take longer and the finished drink will be weaker, so reduce the water to about 600 ml and the sugar to around 500 g. You also need a 1.5–2 litre glass jar with a tight lid, a fine sieve, paper coffee filters, a funnel, and bottles that seal properly. Avoid plastic for the infusion; alcohol picks up smells.
Put the zest and alcohol into the jar, seal it, and place it in a dark cupboard at room temperature. Shake it once a day for the first week, then whenever you remember. Within 48 hours the alcohol will be bright yellow and the peel will look pale and spent. That is exactly what should happen.
Leave it for 10 to 20 days — closer to 10 in summer, closer to 20 in a cold kitchen. Taste a spoonful at the ten-day mark: it should be intensely lemony with a slight edge, not harsh or medicinal. Strain it by about three or four weeks. Beyond that, the alcohol starts pulling woody, bitter compounds out of the peel, and no amount of sugar will hide them. Keep the jar out of sunlight and away from radiators; heat makes the extraction coarse.
Make the syrup shortly before you plan to combine. Heat the water and sugar gently until the sugar dissolves completely, then take it off the heat. Do not boil it hard and do not let it reduce — you are dissolving, not making candy. Then let it cool all the way to room temperature. This is the step people rush, and it is the main reason homemade limoncello turns cloudy.
The finished liqueur usually lands in the low-to-mid 30s by volume. If you want it weaker, add water a little at a time and taste as you go, because too much water makes it taste thin rather than gentle.
Store limoncello in sealed bottles in the freezer. The alcohol and sugar keep it from freezing solid, and it is meant to be served straight from the cold — small glasses, no ice, no garnish. Label each bottle with the date and the batch number; you will want to compare next year's version. It keeps well for many months in the freezer and about a year in a cool, dark cupboard, though the lemon scent fades gradually after six months or so.
Wash and dry the lemons. Zest only the yellow layer, weighing the peel. Cover it with alcohol in a clean glass jar and keep it dark for two to three weeks, tasting at day ten. Dissolve the sugar in water, cool it completely, chill both liquids, and combine slowly. Rest, filter, bottle, freeze.
Write down what you did — the weight of zest, the number of days, the grams of sugar — because the second batch is where you start tuning it to your own taste. And drink it responsibly: this is a strong spirit, so small glasses are not an affectation but the sensible way to serve it.
Photo: pixel2013 / Pixabay
A practical guide to salt-curing lemons at home: choosing fruit, packing the jar, keeping it clean, judging when...
A tour of Italy's best-known lemons — Sfusato Amalfitano, Sorrento, Interdonato, Femminello Siracusano and more —...
Copyright © 2026 Limone Del Fiume. All Right Reserved.